


Tuning your instrument will naturally pull your bridge out of position, so you need to overcome your fear of touching it – as well as knowing when professional help is needed, writes Adam Pelzer

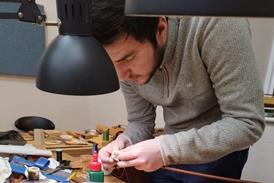
Over the years I have had the opportunity to conduct many sound adjustments, both in my time at Florian Leonhard Fine Violins and in the States, from backstage corridors at the Barbican to sunny beach-houses in Malibu! One of the most striking regular observations (I am sure most colleagues would agree) is that bridges have been bent in all directions as a result of tuning the instrument using the pegs and fine tuners.
This usually comes from a fear of touching the bridge, which I can absolutely identify with, as I also enjoy playing the viola in my spare time. I definitely remember the stressful first time I straightened the bridge on my instrument. Once you lose that fear and get used to it, you will easily be able to check the bridge regularly for straightness and therefore keep it healthy and ensure its longevity!
One must not get too confident though: the positions of bridge feet and sound post should remain sacred and should only ever be moved by a luthier. Nobody wants to end up with cracks or arching deformation on their precious instrument as a result of too much tension on the plates.
Assuming the bridge feet placement is done correctly by the luthier, there are really only two angles to be checked:
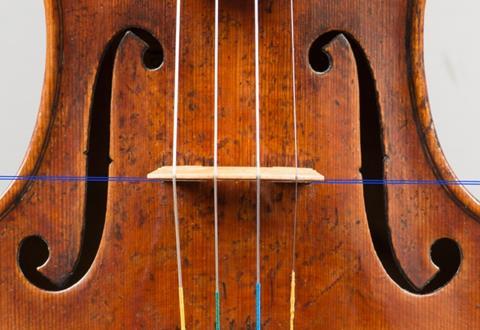
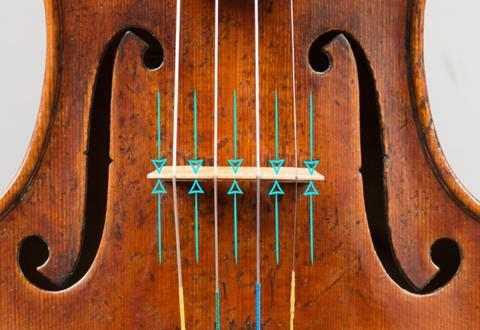
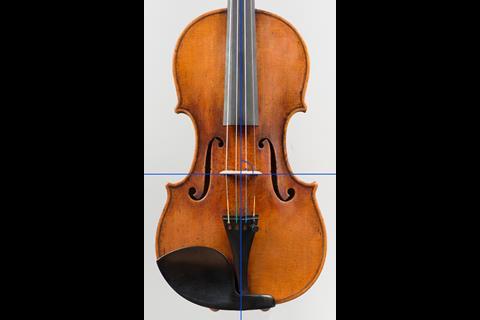
- When viewed from the side: is the back of the bridge (the side facing you when you play) perpendicular to the horizontal line where the ribs meet the table (Fig. 1, above)? Some luthiers create a little arching on the upper third of the back side of the bridge, in which case one has to imagine a straight line from the lower two thirds.
- When viewed from above: is the back of the bridge’s ridge (the curved top) parallel to the bridge feet line (Fig. 2)?
The following steps explain how to move the bridge securely without it falling over:
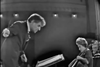
- For violin and viola, place your middle fingers (Fig. 3) or for cello your little fingers (Fig. 4) against the end of the fingerboard and the end of the tailpiece to create a strong foundation.
Below: Scroll between figures 3,4,5,6 and 7
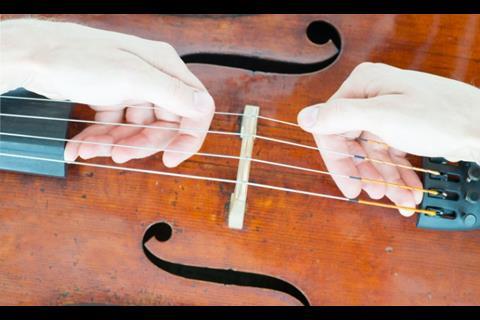
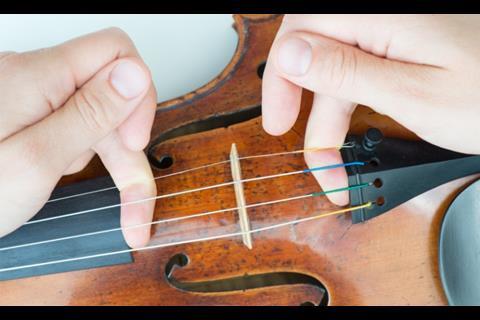
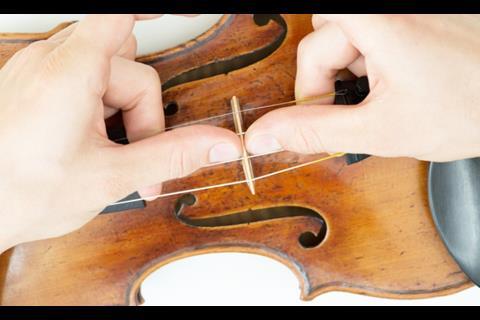
- That foundation creates an anchor against the action between the two thumbs which are placed on the bridges ridge from both sides (Fig. 5 & 6). To move the bridge, just press with the middle fingers/little fingers against either the fingerboard or the tailpiece to move the bridge with the thumb toward the opposite side (imagine an opening scissor movement between your thumb and middle/little finger (Fig. 7). The opposite hand supports the bridge and stops it from falling over.
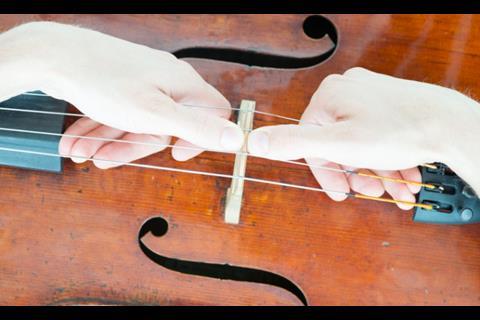
Repeat this procedure adjusting all five sections of the bridge (either side of each string) to make sure it is straight when viewed from above. (Fig. 8)
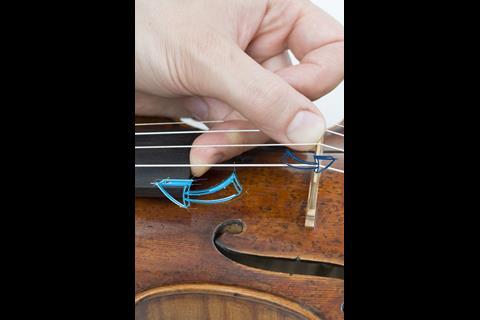
- Lifting each string out of its groove except the E briefly helps to even out the pulling action of the string on both sides of the bridge and to protect from damaging the windings of the strings. Applying graphite to the whole groove with a normal pencil after every string change (only ever changing one string at a time) also makes the strings last longer.
When do you need to visit your luthier?
You should never feel afraid to bother your local luthier, and it’s advisable to get your instrument checked regularly. No question is too foolish and we’re always happy to offer guidance.
- The bridge is crooked horizontally when viewed from above (Fig. 9, above, shows the correct angle).
- Your luthier will pull it with the tension loosened, to its best position, in relation to the f-holes, string length and stop length.
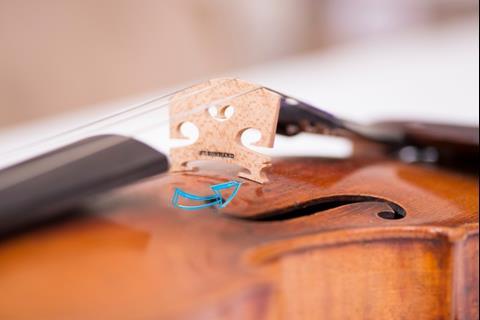
- A gap is appearing between the bridge feet and arching after straightening, so the contact is limited to either the front or back edge of the feet (Fig. 10, above, scroll right).
- Your luthier will most likely have to straighten the bridge on a hot plate and eventually slightly refit the feet.
- The strings have dug deeply into the bridge and have become stuck.
- Your luthier will determine if it’s best to fill the grooves, or if the string height allows for the ridge to be lowered, so that two thirds of the strings are exposed above the bridge curve. Keeping the right clearance for string changes is paramount.
- The bridge has accidentally moved.
- Your luthier will determine the right position and check the position of the sound post.
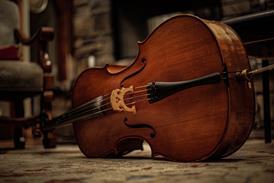
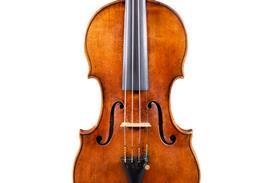
The violin shown here is our most recent copy of a Giuseppe Guarneri ‘del Gesù’, 1734, ‘Ricci’; the cello is by Jean Baptiste Vuillaume, 1845.

Adam Pelzer is a Senior Restorer at Florian Leonhard Fine Violins, London, which will be adding a workshop to their New York showroom later this year.


No comments yet