


Since time immemorial, makers have searched for the perfect varnish recipe, and take great care of the ground – but often fail to realise the importance of preparing the wood first. Christopher Jacoby gives a crash course in ‘ground prep’
The following is published as part of a longer 'Making Matter' article in The Strad’s September 2017 issue, out now – download the issue on desktop computer or via the The Strad App, or buy the print edition.
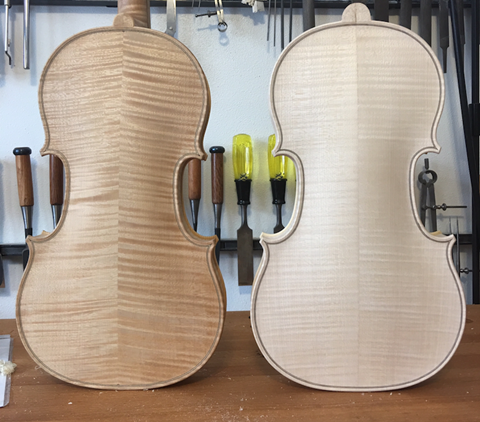
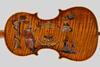
‘Ground prep’ is anything you put in or on the wood to protect, beautify and enhance its natural colour, before applying a base (ground) layer to set thicker varnish on top of. Yet the most important part of ground prep is getting the wood dark enough in the first place. The question for makers is: how dark is dark enough? One of my mentors once gave me a good rule of thumb, as he was looking over my shoulder at a violin I thought I’d ruined during ground prep (the woodwork was the colour of a charred cream cracker, while the figure was burnt and the surface less reflective).
‘Go ahead,’ he said. ‘Once it scares you, it’s dark enough.’
Whether you are making ‘straight’ (non-antiqued) instruments with new varnish, antiqued models, or faithful copies of truly old instruments – or doing repair or restoration work – the axiom ‘darker makes it look better’ holds surprisingly true. The refractive layers on top of dark ground prep lighten the look with each successive application; problems blend together and become more easily solvable as pigment, oil and resin all benefit from the darker tone of the wood beneath.
To read the full article by Christopher Jacoby, download the Strad's September 2017 issue on desktop computer or via the The Strad App, or buy the print edition.


No comments yet