


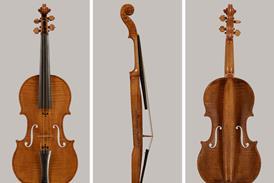
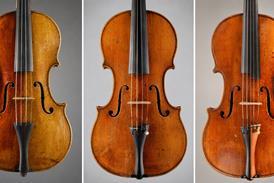


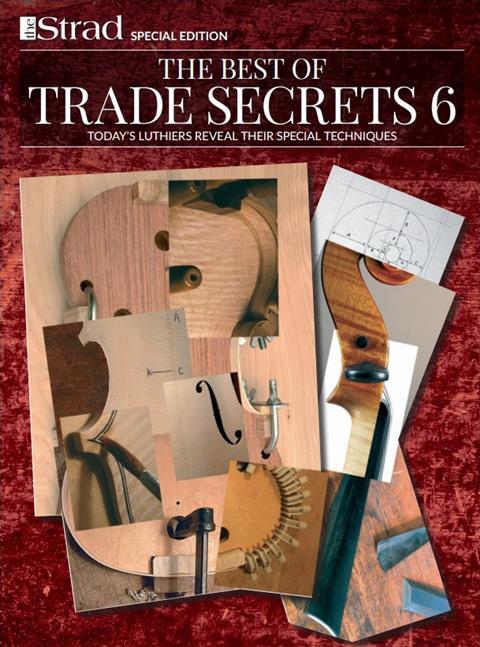
How to perfect the head of your instrument from 125 years of the Strad
The scroll must be formed from a good pattern. Fasten the neck down to the table and carve out with gouges, knives, etc., the curves of the scroll, beginning at the central “button".
Begin with the smallest gouge and take a larger tool as the spiral requires it. Finish it with great care with the knife, scrapers, and glass-paper. Be careful to maintain the gradual increase of thickness which you will find in your model, taking constant measurements as you proceed.
John Broadhouse, The Strad, March 1891
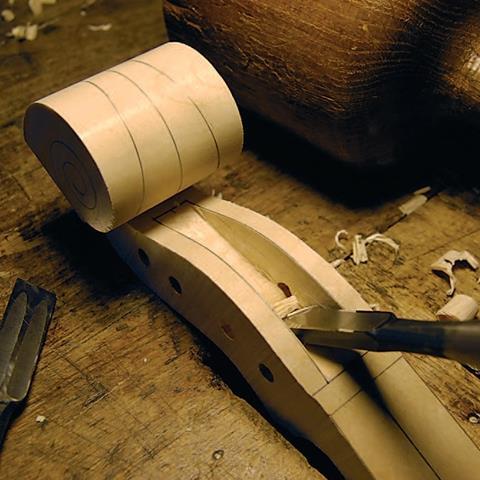
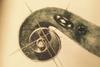
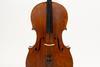
One area that I probably approach differently from other makers is the order in which I work. I like to hollow the pegbox first and then shape its outer side. I believe that Stradivari and other Cremonese masters also did this – they worked in a very straightforward way to achieve their desired designs.
Jan Špidlen, The Strad, September 2009
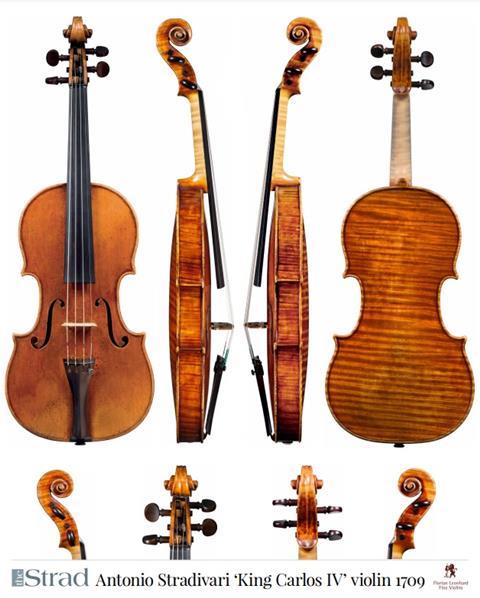
First impressions suggest that the narrow chamfer surrounding a scroll plays a rather minor role. However, when we observe closely how Stradivari cut his chamfers, we see the significant impact they have on the character of his heads.
More than just a simple border, the chamfer does much to define the shape of the head and enhance the solidity of the form in its space.
Stradivari avoided the clinical precision of cutting his chamfers at a consistent 45-degree angle and keeping to a uniform width. He gave definition, energy and movement to the scroll by controlling and varying the width, the twist and the angle of the chamfer.
John Beames, The Strad, January 2015
I create the front view of a violin scroll using the old Cremonese measurement onica in combination with proportionately correlated templates, inspired by the geometric principles of the Renaissance. Using these templates, it’s possible to create a variety of scrolls of different appearances while staying true to classical form.
Torbjörn Zethelius, The Strad, December 2011
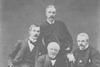
Having clamped the template to the neck block, I mark the outlines with a scribe, which gives me a clearer line than a pencil. Also, I poke through the little holes to show the volute, which will serve as a sawing guide. The really important part of the volute markings is the eye. All the other dots will be sawed away soon, but the position of the eye in relation to the outlines may be each volute’s most important feature.
Hans Pluhar, The Strad, September 2006
Carving the turns of the volute remains, for me, the most challenging part of shaping an asymmetrical scroll. Normally, we are schooled to make these cuts perpendicular to the bench surface. But on this scroll, because of the asymmetry, no two cuts are made at the same angle. The tendency with a gouge is to undercut, simply by wanting to cut perpendicularly in the traditional way. After many annoying mishaps, I switched to a chisel with a convex blade. The resulting facets are easily filed away and the method is much safer.
David Rivinus, The Strad, May 2011
Making a viola da gamba scroll also requires a slightly different approach. Because of the open design, the scroll does not have fluting or an undercut, so the curves and volutes are a little more subtle. The recess and scroll have to work together and balance each other, as the process essentially means that two outlines are created. To some extent, the space is as important as the scroll itself – the eye is drawn to the outline but possibly even more to the recess.
Hubert de Launay, The Strad, May 2014
Photo: courtesy Jan Špidlen


No comments yet