

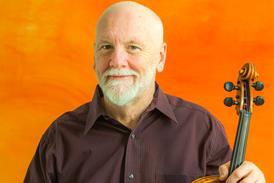


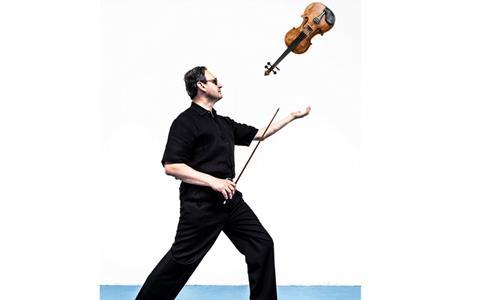
Professor of viola and chair of strings at Texas Christian University Misha Galaganov offers technical advice on how to play and teach trills
The following extract is from The Strad’s October 2021 issue Technique feature ‘Trills and Embellishments’. To read it in full, click here to subscribe and login. The October 2021 digital magazine and print edition are on sale now
Anybody can learn to trill well. The secret is to lift and drop the trilling finger from the base knuckle – not the middle joint, or you will get stuck – like a hammer tapping the string, with the fingers curved closely over the fingerboard. Neither the fingers that stay on the string nor the trilling finger should press hard. While playing normally with the bow:
- Place a finger lightly on the string, as if to play a harmonic, then add a little weight, until you hear a clear stopped note. Don’t squeeze the neck!
- Use only this amount of weight when you trill. It’s a lot less than you might think.
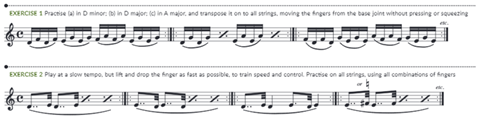
Use exercise 1 to warm up your fingers, moving from the base joint without pressing or squeezing. To trill, you will need to repeat this action quickly and evenly. To train a fast, controlled finger action:
- Keep the fingers curved, close to the fingerboard
- Play exercise 2 slowly. Wait until the last moment to drop each finger from the base knuckle, then lift it quickly away, as though the string is very hot
- Each time the finger leaves the string, let it relax before it lands and pushes off the fingerboard again
- Practise each rhythm on all strings, using every combination of fingers (0–1, 1–2, 2–3, 3–4; 0–2, 1–3, 2–4 and so on), in semitones and whole tones
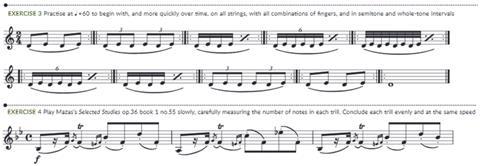
Work on maintaining that same articulated, controlled feeling at different speeds (exercise 3), to develop strength and control.
IN YOUR PRACTICE
It’s better to practise trills for five minutes a day than ten-to-fifteen minutes one day and nothing the next. Choose one or two things to improve and stick with them until they become stable. If your teacher comes around in the middle of the night, gives you a viola or violin and says, ‘Play this exercise now!’ you should be able to do it right away and go back to sleep. If you can’t, you need to practise more! At the same time, it can be counter-productive to practise trills for more than ten minutes at a time. To improve more quickly, spend another ten minutes working on them later in the day.
If a trill passage in a piece of music doesn’t work right away, make an exercise out of it: play it without trills, then add turns with more notes until the trills become possible. If you are methodical about the places you would like to fix, you will progress in no time.
TIPS FOR TEACHERS
If you have students who are struggling with trills, don’t worry; you will be able to help. There’s nothing mystical about the technique itself. Choose an exercise or etude that aids each individual to progress with the aspect of technique with which they struggle the most. If they can’t play fast trills, help them to build up by using acceleration exercises. If they can play fast trills but have trouble controlling them, focus on rhythmic exercises to help them develop finger strength and stability. Others might have difficulty with their hand position, lightening up the fingers or tension, so tailor each exercise to address specific problems. Not everybody needs the same exercises to further their development.
Read: Technique: Trills and embellishments
Read: Trills and embellishments: exercises from Wilhelmj and Brown’s A Modern School for Violin
Read: Avoiding the ‘neutral zone’- what to do with your bow when playing violin trills
-
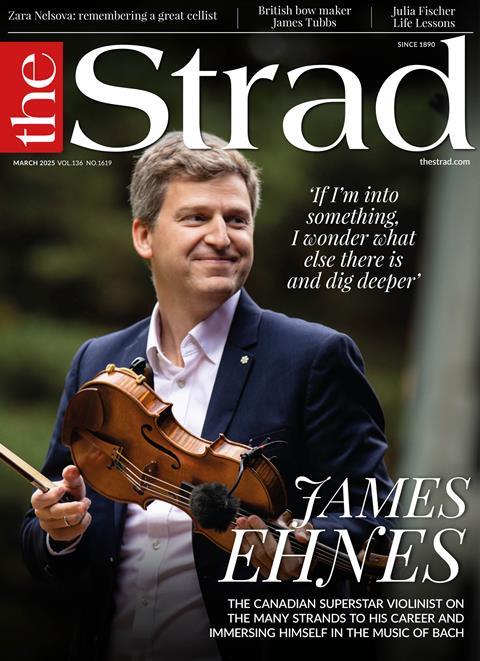
This article was published in the October 2021 Janine Jansen issue
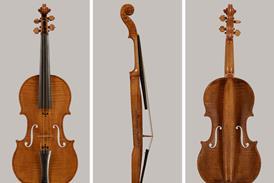
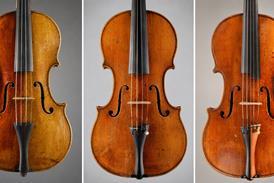
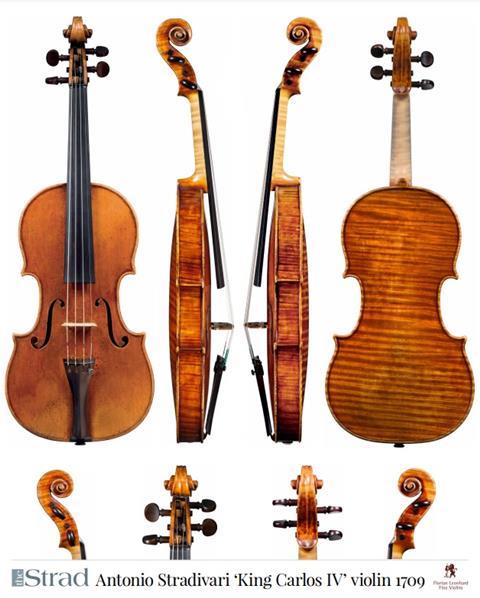
The Dutch violinist performs on twelve of the world’s finest Stradivaris for a new recording and documentary. Explore all the articles in this issue . Explore all the articles in this issue
More from this issue…
- Janine Jansen’s Stradivari recording project
- The on-screen legacy of Jacqueline du Pré
- Exploring historic varnish recipes
- Juilliard’s new Chinese campus
- Duos from Kopatchinskaja and Gabetta
- The Strad Calendar 2022
Read more playing content here
-


No comments yet