


Expert advice on how to fine tune your purfling from The Strad
There are hundreds of ways to make purfling, but the best way is still the way – at least I think – that the great masters did it. Shavings of poplar and pearwood are taken from wet planks with a big old double-handed plane. The pearwood goes into a pot to go through ancient dyeing processes, and emerges after a few days dripping slippery black like unravelled rolls of old celluloid film. The poplar wraps itself up into tightly wound bundles that have a springy life of their own, needing to be gently teased flat. Then you make the sandwiches. Lashings of glue, lightly pressed between two boards, and you have it – a ribbon of 17th-century plywood barely more than a millimetre thick.John Dilworth, The Strad, April 2013
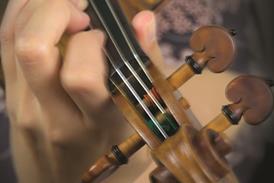
I set the purfling marker according to the desired distance between the outside of the inlay and the edge. The blades can be adjusted in distance relative to each other by adding or taking away shims, but I rarely have to change the measurement because I use the same width of purfling for violin, viola and cello. My purfling channel is not so wide the dry purfling can move about in it, but it is not very tight either. I do not like having to use filler afterwards so I try to work accurately at this stage. I do this marking with a relaxed hand, several times over, until I have easily recognisable cuts.
Kai-Thomas Roth, The Strad, December 2007
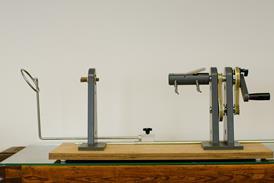
For the ‘trios brins’ purfling method, used by the 19th-century French violin makers in imitation of the Italian masters, you will need strips of ebony or stained wood and strips of maple or other white wood, both 2mm by 1mm. Setting the thickness is very simple if you use a plane under which you have glued, on each side of the blade, two lengths of purfling of the required thickness. Then, on a flat, wooden board, plane the number of purfling strips that you need to outline the instrument.
Frank Ravatin and Pierre Caradot, The Strad, April 2000
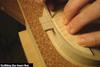
The strips of the purfling must fit the channels properly, not too loose or too tight. This is particularly important at the corners. The channels can be widened slightly if necessary by pulling a rounded metal stick through them – I made one from an old file. Before I start gluing I remove the strips from the channels in the upper and lower bouts, leaving only the one in the middle bout.
Jan Š pidlen, The Strad, August 2005
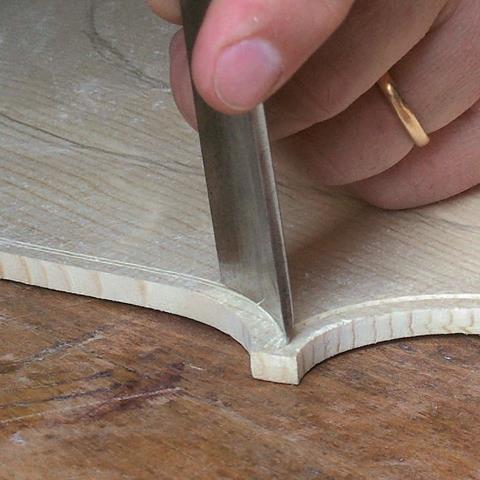
When fitting the mitres using a single piece of purfling, there is no tolerance for getting the exact length, angle and position on the C-bout purfling at both ends. But I gain some tolerance using my method. By making a well-cut scarf joint in the middle of the C-bout purfling I can create the extra margin sometimes needed to get the purfling into both corners in the exact same way that I would like. I use a chisel or knife to make the cut: both work well as long as the cut is clean and both sides of the joint match in length and angle so that when the two ends sit together, any movement will not create a noticeable gap.
John Gosling, The Strad, January 2009
Using two separate cutters to cut the purfling channel gives more freedom and a more organic look to the finished article. A very well-executed cut made with a double cutter can look too good, owing to its uniform width. I am also able to make finer adjustments to the distance between the inner and outer lines than I could do with a double cutter, plus, it is easy to make mistakes on the front, where the rings are parallel, and using a single cutter means a mistake can be avoided when cutting round the second time. I then insert the purfling.
Ulrich Hinsberger, The Strad, March 2012
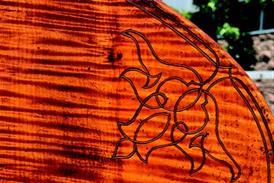
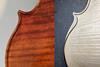
Brescian instruments are often decorated with elaborate purfling designs on the back, probably a feature carried over from the ornate viols that would still have been in use when these instruments were made. Making the purfling with three separate strips – ebony for the black and boxwood for the white – enables the modern maker to reproduce these patterns in the spirit of the original. There may be mismatched joints and a lack of symmetry, but the lines always flow, giving a result that is full of vigour and freshness.
Helen Michetschläger, The Strad, August 2010
No comments yet